Natural Play is the Way!
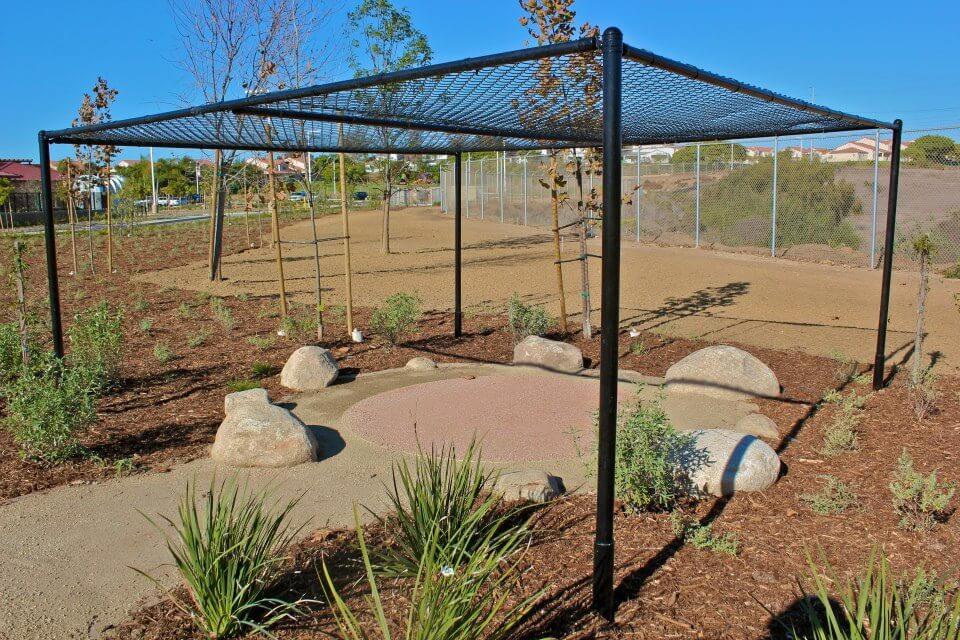
Nature is the perfect learning environment for children to play with and among elements such as sand, water, and living plants. These components encourage physical and imaginative play but are often overlooked in traditional commercial playground building.
Creating an environment for children to fully reap the benefits of outdoor play is crucial, especially in a time when unstructured play is being overshadowed by television, video games, and other electronic amusements. At PDPlay, we’ve found a way to incorporate natural elements into our play structures that still comply with commercial playground guidelines and safety laws–we call these integrated playgrounds Outdoor Learning Environments.
Interested in how you can create a more natural playground? Here are 6 simple ways…
Sand – Sand is great for kids, especially within the 2 to 5 age set. Kids can work with it to make interesting shapes, plus take ideas formed in their minds and build them in real life. Sand also is very tactile, giving children constant feedback as they work with the material.
Putting a sandbox or sand feature in your playground can be a relatively small investment with big returns. Sand and sandboxes are traditionally an inexpensive element, although custom projects such as sand boats or in-ground sand areas can come at a larger price.
Water – Incorporating a water play feature is another way to integrate a natural element into your playground. However, it’s imperative to be mindful of standing water with these features. Most, if not all, state childcare licensing agencies will not allow standing water on a daycare center playground. Make sure water is constantly flowing and has a place to drain.
If you have a sand play area, these two features can work hand in hand. Integrating water play into a sand area can create portions of wet sand, which we all know makes for the best sand castles!
Garden – Having a garden of interesting and hardy plants and insects provides kids a place to see nature evolve on its own with the right elements. Kids can also help maintain the area by watering and weeding it. If the budget permits, you can go one step further and install a root view grower for the kids to see what is happening below ground.

Trees – If you are building a new playground in an area that has mature trees, think about adding a tree surround for kids to sit and interact. If you don’t have any, think of planting one or two if space permits. Not only do they provide shade (also very important, especially in places where heat is an issue), but they also let kids see how trees interact with the wind, rain, and the seasons. Once the leaves fall to the ground in the autumn, they provide more fun and educational opportunities. And bud break in the spring is always a special time of the year.
Hillslides – Hillslides are a popular component that provides kids with a lot of fun options, from going down the slide to simply rolling down the hill. PDPlay hillslides are designed using dirt, wire mesh, concrete, and either natural grass or artificial turf (in certain climates where maintaining actively used grass is a problem), making for a sustainable natural-like feature that can withstand the elements (and kids). They generally come in three sizes but can be modified to fit any area, budget, or design direction.

Boulders – Kids love to climb, so what better feature to climb on than a boulder? Boulders offer a variety of challenges for kids of multiple ages and contribute to the authenticity of the natural environment.
Unless you have a playground in the mountains, finding boulders will require a trip to a local landscape supply company. However, selecting boulders can be hard to do; as an alternative, you can have a custom climbing boulder made for your playground. You get all the benefits of a natural boulder without sharp edges or the difficulty in properly locating an existing boulder. Custom boulders are usually built onsite to suit the size and scope of a playground.
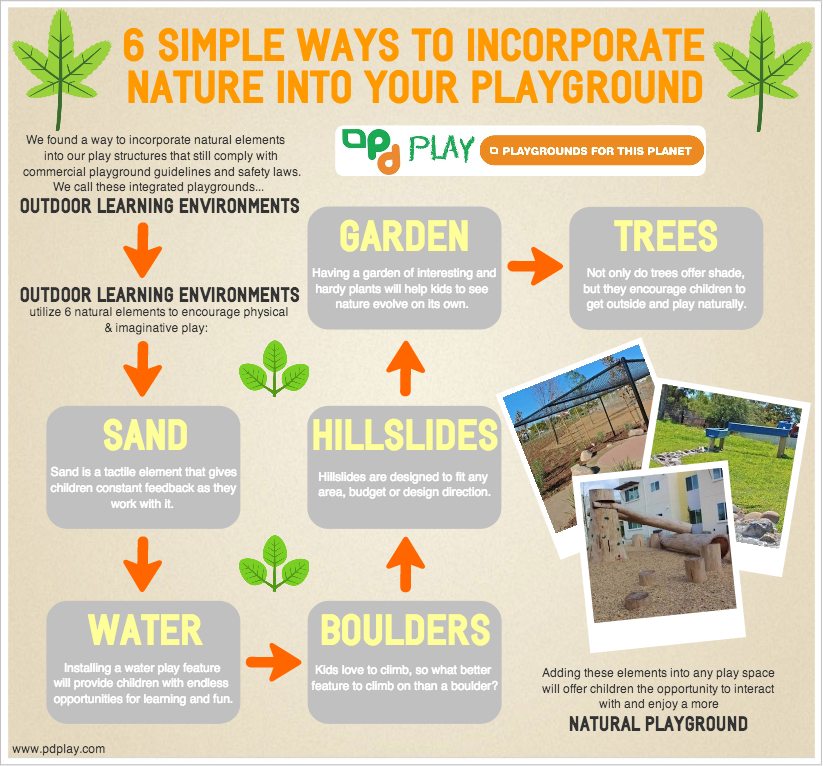
Still curious about the best ways to create a natural playground? We created this graphic as a quick explanation:


